How to edit sports photos in Lightroom Classic
By Ana Kostyrko on February 9, 2026
Editing photos starts before any sliders are touched. The most important step is choosing the right images first. Editing cannot fix photos that are out of focus, blurry or missing the moment.
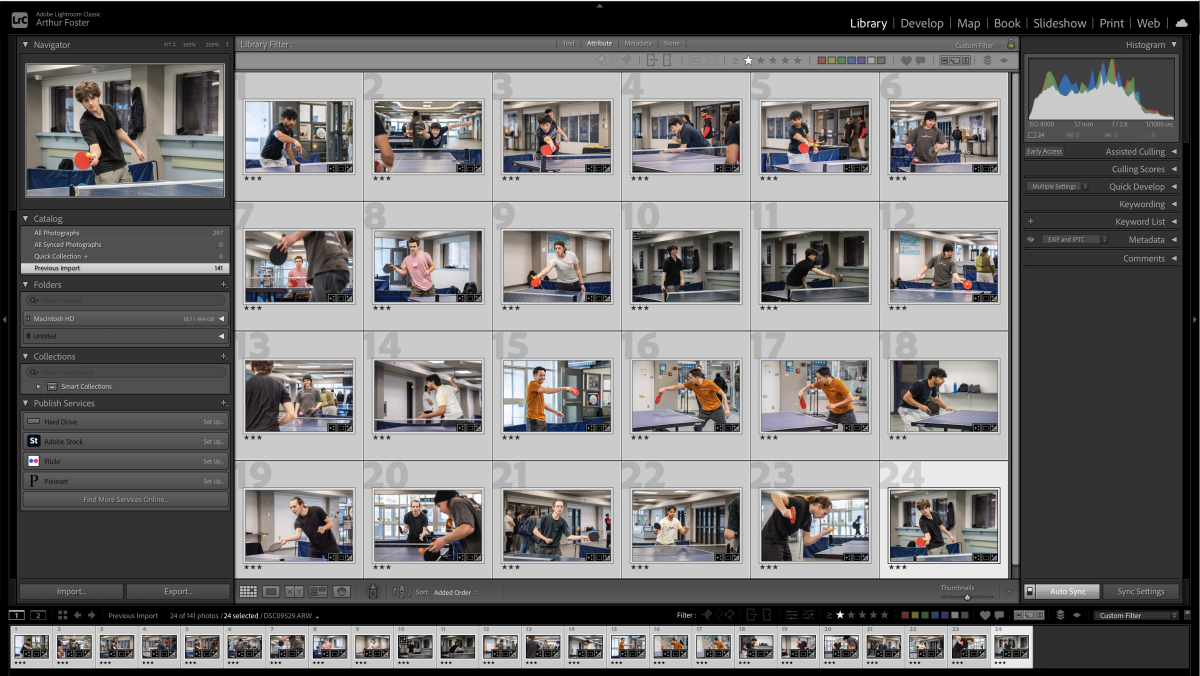
Step 1: Choose sharp photos
- Focus comes first. If the main subject is not sharp, the photo is not selected for editing. Soft focus can work in rare creative cases, but it rarely works in sports.
- Faces matter next. Visible faces show emotion, which is what makes sports photos engaging and helps tell the story.
- Motion blur is another key issue. The athlete should stay sharp, even if a fast-moving object like a ball is blurred. It is better to raise your shutter speed (and therefore ISO as well) than risk motion blur, since noise can be reduced later.
- Going through photos more than once helps narrow the selection down to only the strongest images. I use one star for possible selects, while three stars mark images that will definitely be edited.

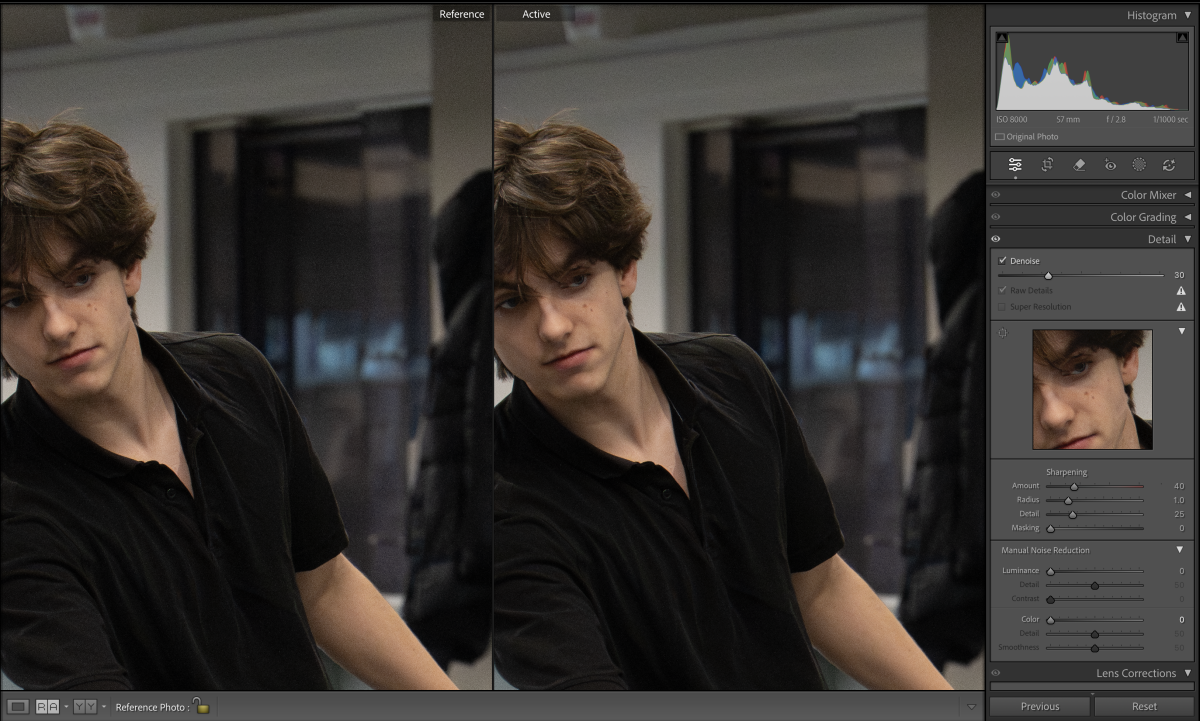
Step 2: Reduce noise first
Fast shutter speeds often create noisy images. Before making other edits, apply “Denoise”. A moderate amount, around 20 to 30 per cent, usually removes grain without losing too much detail. The difference isn’t very noticeable just yet.
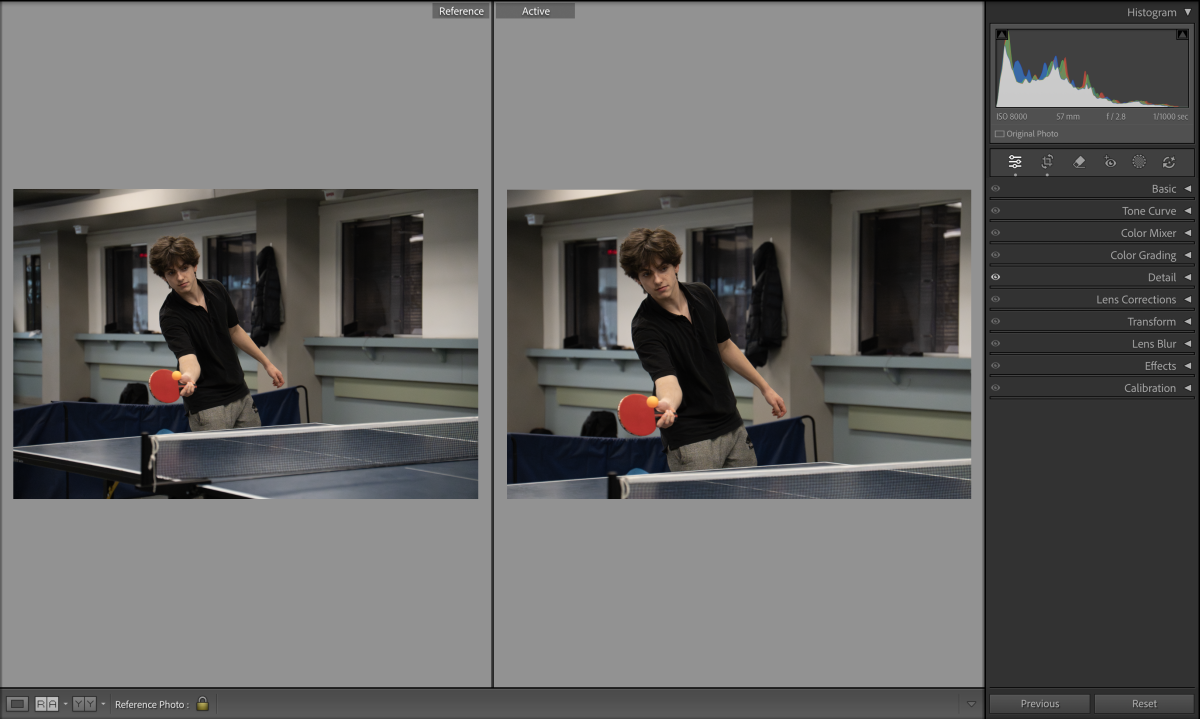
Step 3: Straighten and crop
Before adjusting light or colour, fix the basics. Straighten the horizon and crop for better framing. A slightly tilted or poorly framed image can distract the viewer even if the edit is strong.
Step 4: Adjust light
In the basic adjustment panel, highlights are usually lowered to recover detail. Exposure can be increased slightly, and shadows can be raised so nothing is completely black. Small changes in texture or clarity can help, but too much will make the photo look unnatural.
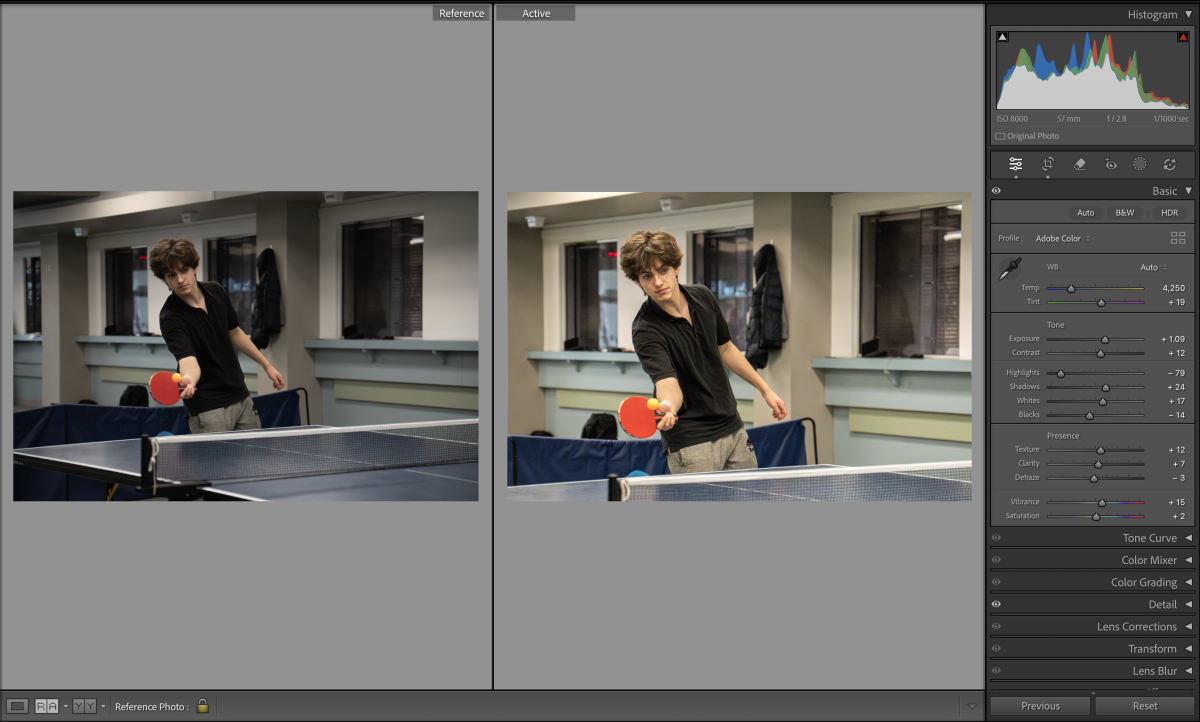
Step 5: Fix colour
For most sports photos auto white balance works well. Temperature and tint can be adjusted during editing. In extreme lighting situations, such as concerts or coloured lights, colour often needs more work using tools like tone curve, colour mixer or colour grading. Anthony Gugliotta has some good tutorials on colour.

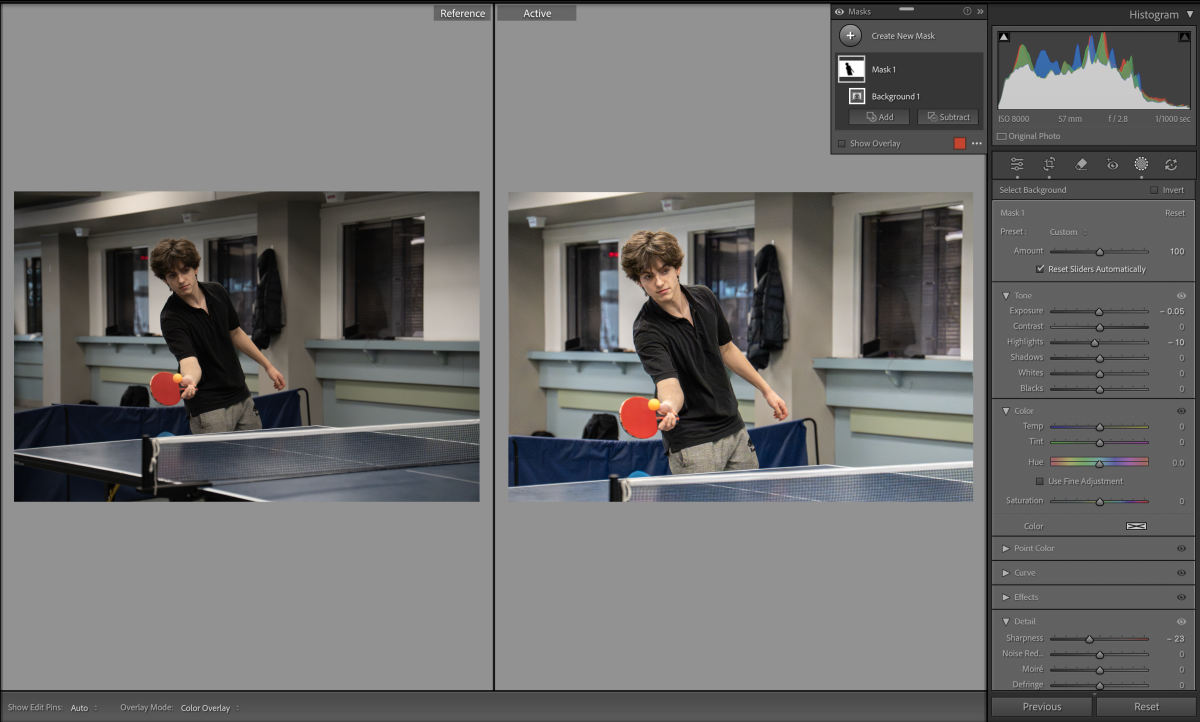
Step 6: Masks and final checks
Masks can help separate the subject from the background. Slightly lowering the background exposure or highlights helps the subject stand out without looking fake.
Once the edit looks right, the settings can be copied to similar photos. A final review helps catch small issues before exporting.